Last year I did luminaries with flocking… And tell you what… That was a flocking mess. It got everywhere… It shed everywhere… If you even looked at it, you ended up with it all over you… So I decided to try something a little different.
Look thru the tutorial and see if it’s something you’d like to do yourself. If you do, make sure to let me know! I’d love to see your creations.
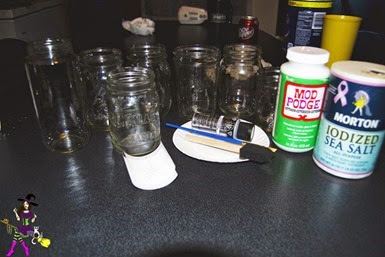
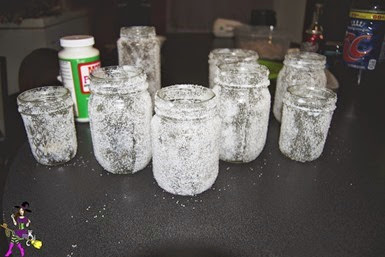
Supplies you’ll need: Jars. JARS JARS JARS. You can have as many as you’d like. Serisly. You can buy new jars or you can reuse ones in your fridge. That’s what I did. There’s a banana pepper jar, some old jelly jars, etc. You’ll also need some Mod Podge. You can use the regular kind, or like me, the outdoor kind. You’ll also need silver paint, a paint brush and a sponge brush, a snowflake stencil of your choice and salt. You can use Sea Salt, like I have or Kosher, rock, etc.
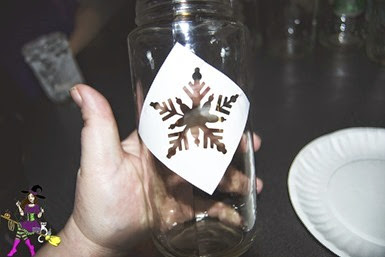
Step One: Apply your snowflake template/stencil to your clean jars.
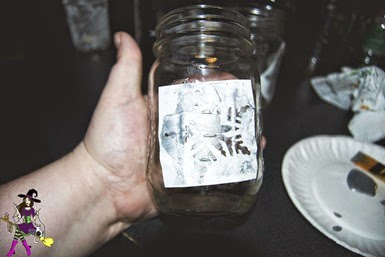
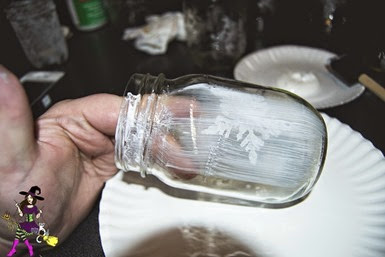
Give each one a relatively light coat of silver paint. Remove stencil, let dry.
Step Two: With a light hand and your sponge brush, brush on the Mod Podge.
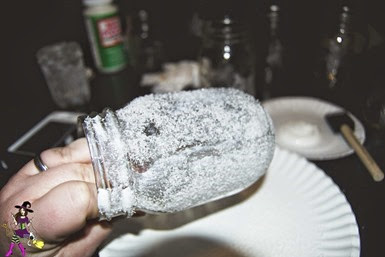
Step Three: Section by section, while the Mod Podge is still wet, add your salt. Shake off any excess and continue until entire jar is covered.
And you’re done! Let dry overnight then add a tealight or two and put them where you want them!
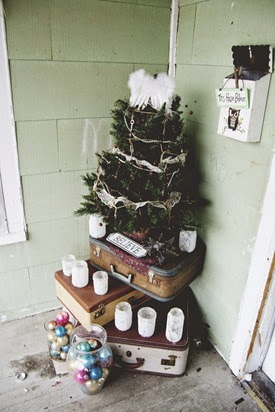
I added them around my little shabby tree for a cute look. Later on tonight I’ll light them and make sure to get a pic or two!

So cute
ReplyDelete