Monday, September 22, 2014

Tutorial Corner: Halloween Hobgoblins and their habitat

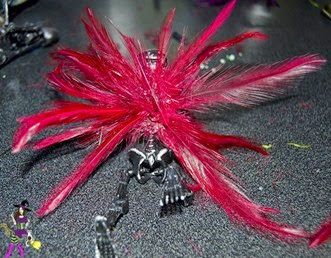
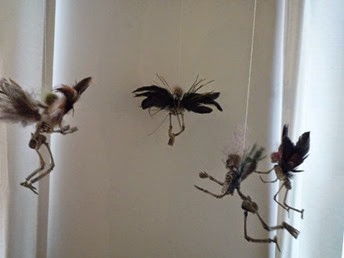
So I’ve been sharing pictures on my Facebook via Instagram of the cute little Hobgoblins I’ve been making. I got the idea from a picture on Pinterest:

764858aa1b62b6caa3b92601c1418b0e

I was like hmmm… I could do those with no problem! So here’s how I did them!

DSC_0002

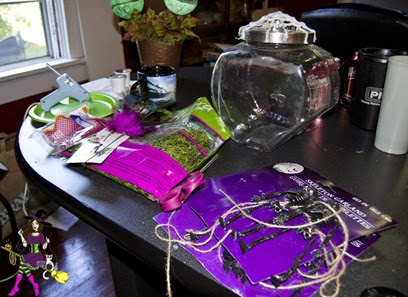
You’ll need a habitat (if you want one, it’s optional! You can always hang them from the ceiling from fishing line, as it’s shown in the picture above. You’ll also need some feathers of your choice (Walmart, $2.97); Spanish Moss (Walmart, $3.49); miniature skeletons of your choice. I got mine at the Dollar Tree. They’re a part of a “Skeleton Garland” that I just cut apart from the string. You’ll also need a hot glue gun, glue sticks and scissors.

DSC_0005

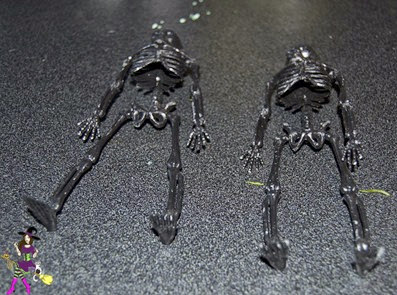
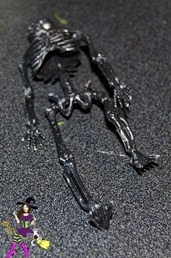
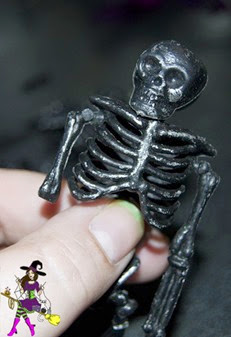
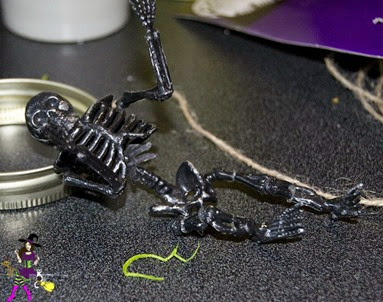
Step One: Remove your skeletons from the string (if applicable).

DSC_0006

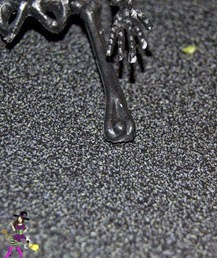
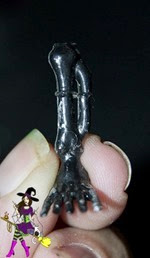
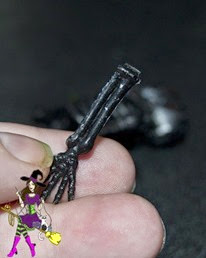
Step Two: If needed, shorten the legs. Just take a small bit of the lower leg out.

DSC_0007

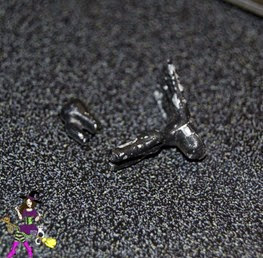
While you’re at it, take the femur from the knee joint with your scissors. It’s best to do both legs at the same time, just make sure you don’t get your sides confused.

DSC_0008

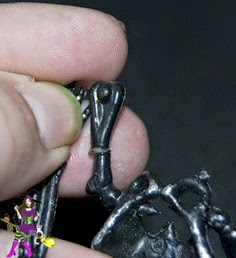
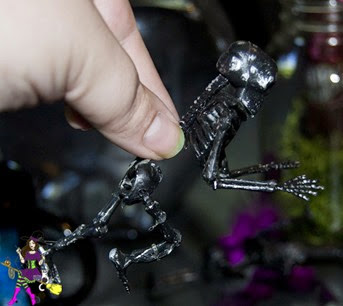
With a small amount of hot glue, attach the lower leg back together.

DSC_0009

Do the same with the thigh.

DSC_0010

Then glue the leg all together. Give the knee a bit of a bend backwards to make it look like it’s floating.

DSC_0011

DSC_0012

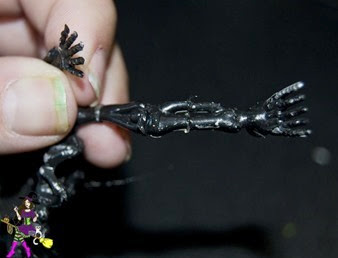
Step Three: Cut the lower arm off at the elbow. Poor Skelley.

DSC_0013

Step Four: Kind of bend your skeletons arm at the joint however you want it.

DSC_0014

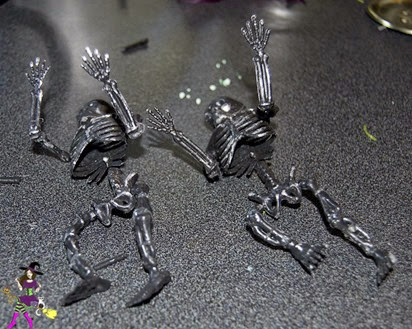
Step Five: Glue the arms to the elbows in a raised fashion so it looks like this:

DSC_0015

DSC_0016

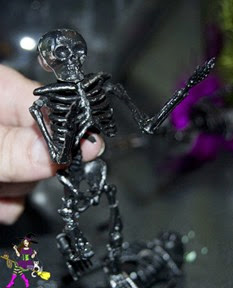
Pose your dude like he’s drunk.

DSC_0017

And him and his buddy will eventually look like they’re doing the Thriller.

Now comes the fun part….

DSC_0019

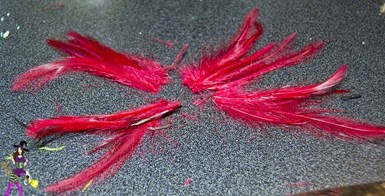
Step Six: Taking your feathers, get your idea laid out on the table in front of you. Think about how they’ll look on the finished product, so make sure the curved feathers go in the right direction.

DSC_0020

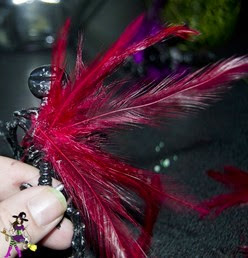
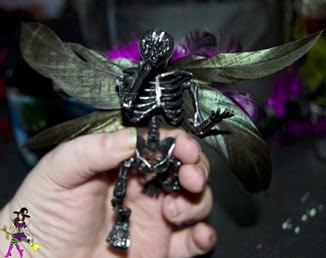
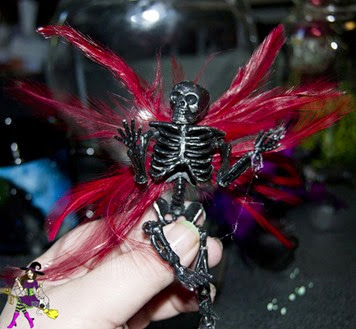
Step Seven: Using a pretty good size dollop of hot glue (be careful not to burn your fingers!) attach the wings to the back, right between the shoulder blades on the spine.

DSC_0021

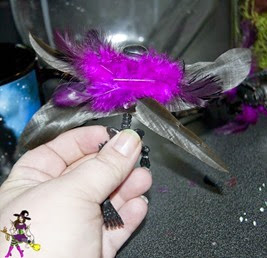
Finish both sides and then take a smaller feather to cover up the mess you made out of the spines of the feathers. Trust me, you’ll make a mess. I know I did.

DSC_0022

Repeat the steps with your other, more bashful, Hobgoblin.

DSC_0023

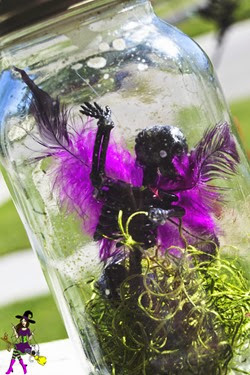
And make it look like it has an awesome little purple backpack.

DSC_0024

Ehhhh this one doesn’t really care, as long as he’s part of the party.

DSC_0029

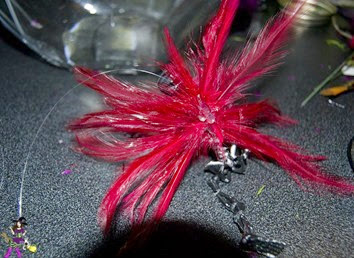
Step Eight: With a small amount of hot glue, affix a bit of the fishing line to your hobgoblins back.

DSC_0031

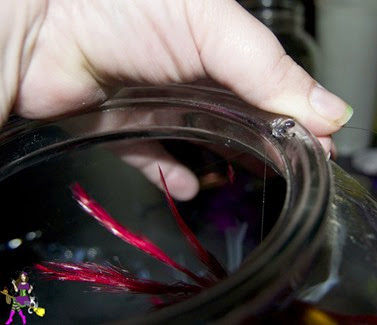
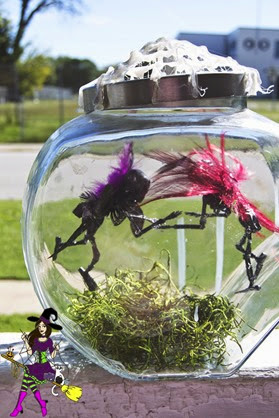
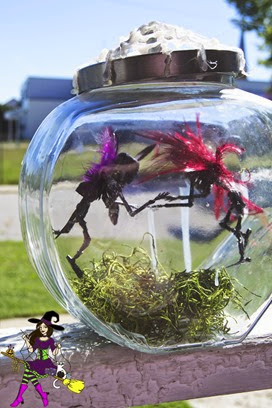
Step Nine: If you’re making a habitat, this is the time to figure out how you’re going to want to fix them in it. I was having issues trying to get them on the lid right, so I ended up using a small amount of glue on the rim of my glass canister and held the fishing line for a bit for the glue to firm.

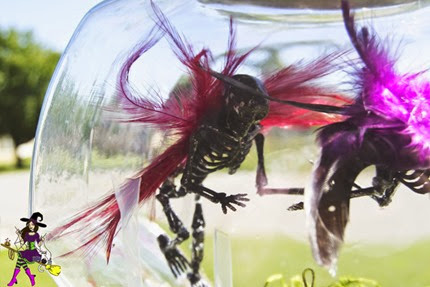
Add some Spanish moss, some twigs and maybe some mini-tombstones if you have them and voila! You have a Hobgoblin Habitat. But! Please Note: If you plan on leaving these outside, please note that you’ll want to use high heat hot glue. If not, if they are in direct sunlight, the hot glue will weaken and your hobgoblins will fall apart. Plus, if they’re in a small container, like a jar, the glue heats up and causes condensation in the jar, so make sure to poke a few holes for heat to get out (oh and to let your Hobgoblin breathe!)

DSC_0035

DSC_0038

DSC_0039

If you would like to see a tutorial on how to do the spider web lid to this canister, let me know and I’ll do one!

DSC_0041

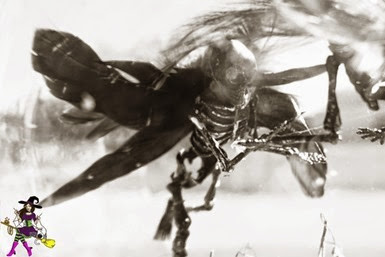
Awww look they’re dancing!

DSC_0044

This is my first Hobgoblin, the one that started it all. Unfortunately, I had to do some emergency surgery to him and whilst putting him in his new habitat, I re-broke his arm. Poor guy!

Sunday, September 21, 2014

Polish Review: Glitzkrieg War Paint Fall Frolic Collection

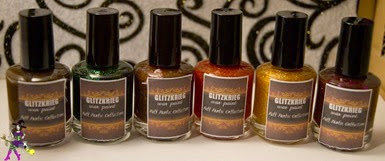
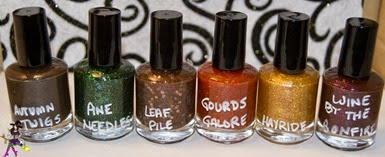
Hey there, Witchie-Poos! I hope everyone is enjoying this, the evening of the last day of summer! Tonight I have for you six of the seven polishes in Glitzkrieg War Paint’s Fall Frolic Collection!

DSC_0506

DSC_0508

I will say right now, I absolutely adore pretty much any jewel-themed polish collection. They’re indicative of the fall months where everything is so beautiful and fresh.

DSC_0486

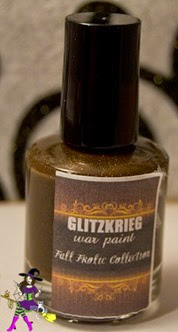
Autumn Twigs is first up. Listed as a holographic cream with big, brown hex glitters.

DSC_0488

It doesn’t seem like much in the bottle, but once you put it on the nail it just screams beautiful.

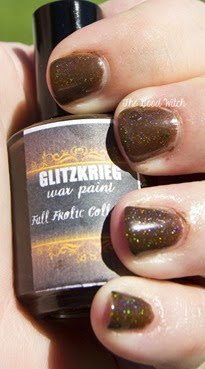
DSC_0515

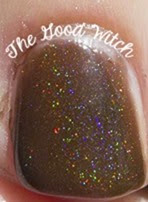
Two coats of Autumn Twigs and it reaches full opacity. It’s a gorgeous brown holo, which amazes me. I’m not one for brown polishes, but Autumn Twigs hits a heart string. I love the sparkle!

DSC_0517

It dries super fast and to a mirror finish.

DSC_0499

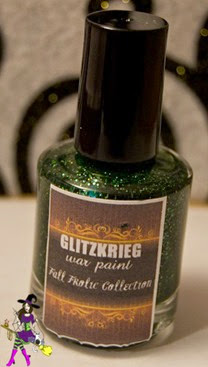
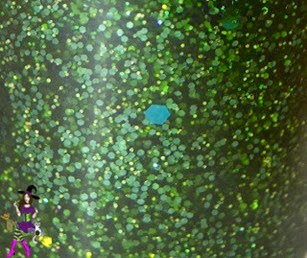
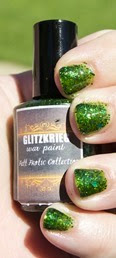
Next up is Pine Needles… Listed as a dark green jelly with hunter green glitter and teal matte hex glitter.

DSC_0500

Isn’t it gorgeous?

DSC_0533

It goes on like a dream, like most jellies do. I applied two coats and then covered with a topcoat.

DSC_0535

I’m not much of a fan of greens, but I really, really like this one. It’s like the emerald city met the wicked witch and this is what they produced. I can totally see this becoming a part of my halloween costume!

DSC_0503

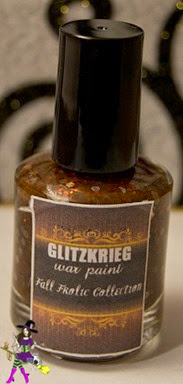
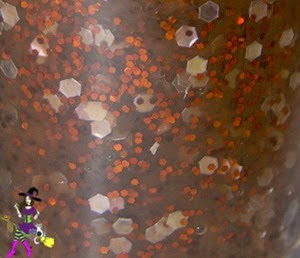
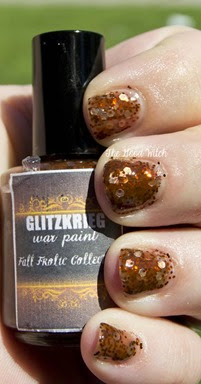
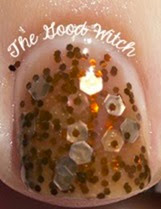
Next up is Leaf Pile… It’s a sleeper, that’s for sure. It’s a brown jelly with small bronze hex glitters and larger transparent hex glitters. They look awesome, which really surprised me.

DSC_0504

This polish quickly became one of my favorites in the collection.

DSC_0518

I love how it shimmers and shines. This is two coats on all but the middle finger, which is three.

DSC_0522

Isn’t it gorgeous? I can see it becoming one of my favorite fall polishes. Only problem I see, is that the one I was sent does not match the polish with the same name in the store. Not real sure what’s up with that Smile.

DSC_0490

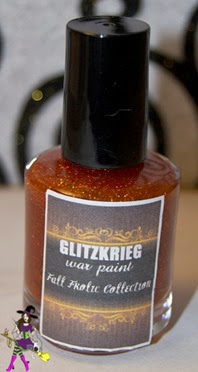
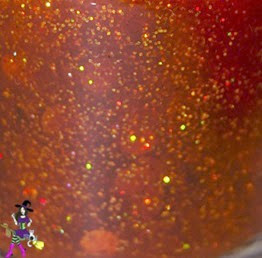
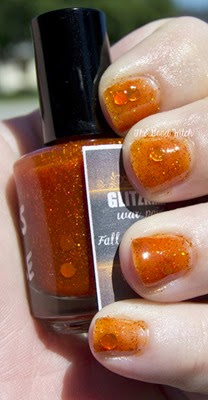
Next up is Gourds Galore. I LOVE this polish. Gourds Galore is listed as “a bright orange jelly with big, orange holographic dot glitter and tiny holographic rust-colored glitter.” and it doesn’t fail to impress.

DSC_0492

DSC_0538

It translates onto the nail awesomely and in two coats I love the opacity it creates.

DSC_0540

And it’s so darned pretty!!!!!!

DSC_0494

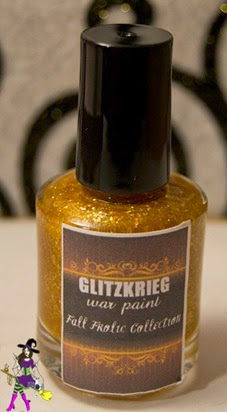
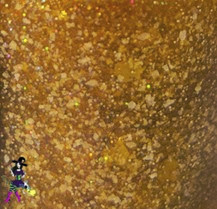
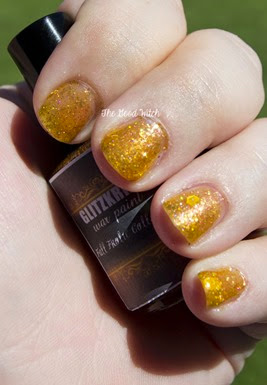
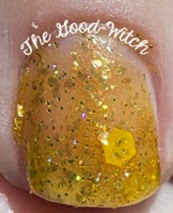
Next up is Hayride. Listed as “a bright gold jelly with gold flakes, gold holographic glitter and bright yellow matte hex glitter.” I love how this one shimmers and shines. It’s like a little pot of gold on your fingers.

DSC_0496

DSC_0528

Two coats and you reach a pretty decent opacity for a jelly polish. Three would have made it too heavy.

DSC_0531

But it really does shimmer and shine!

DSC_0480

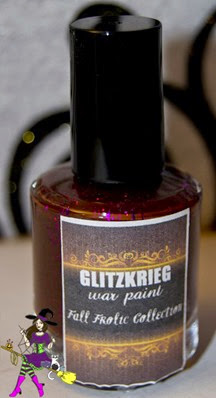
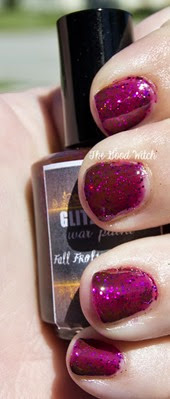
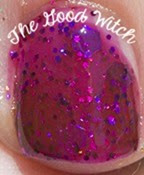
Last but not least is my favorite… Wine By the Bonfire is listed as “a dark purple jelly with a selection of holographic and metallic purple glitters.”

DSC_0481

My bottle shot doesn’t do this polish justice. Seriously.

DSC_0541

It goes on wonderfully in two coats. Three again would have been too chunky. The hexes don’t always translate well, but that’s ok. I love the vampiness of this polish. It screams to me!

DSC_0546

Heh. Now I got them to translate well. Ugh. But still. Goodness, it’s pretty isn’t it?!

All in all, these beauties from Glitzkrieg are AWESOME. The opacity is easy to reach, the dry time is minimal and the formulas are awesome. All except for the Leaf Pile problem on her Etsy store, they’re more than worth the money spent for them!

You can find these and other polishes (including Hardy Mum, which is the seventh polish in the collection) in her Etsy shop. At $8.50 a bottle, it’s a steal!

Disclaimer