Tuesday, October 21, 2014

DIY Halloween Tutorial: Hanging Spirits

So… I’m a Pinterest freak. Seriously… It’s an illness. I saw a picture of these things on there and with a little sleuthing I finally found the tutorial for it. Lowe and behold, it was a Martha Stewart tutorial. I was amazed. I didn’t know the Domestic Queen could come up with something so cool and amazing. So… Sit back, read this and then go make some hanging spirits.

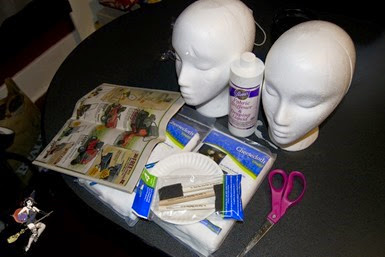
Supplies You’ll Need

DSC_0001

You’ll need some newspaper to lay out on your work surface if you’re a messy crafter like I am lol. Sponge brushes are the best tools to work with. You can also use just a regular paintbrush to help kinda push the cheesecloth into the nooks and crannies. You’ll need some cheesecloth. You can get this at Hobby Lobby, Michaels or Walmart. Scissors are a must. You’ll need however many foam heads you want. My sister got these for me over at Sally’s for super cheap (cheaper you can get them at Hobby Lobby!) and you’ll need Alleen’s Fabric Stiffener. This works awesome and you’ll definitely use a bit of it, so get the biggest bottle you can.

DSC_0003

Step One:

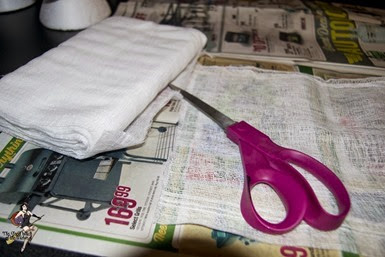
Cut your cheesecloth to varying lengths. Make some long, some short.

DSC_0004

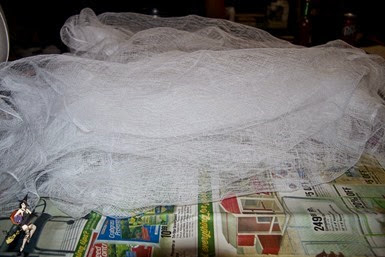
Open it up and spread it out so you don’t have to do this when you’re right in the middle of everything.

DSC_0005

Step Two:

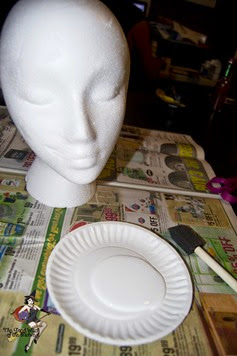
Get ready to get messy. Pour out a good amount of the fabric stiffener on a paper plate and have your sponge brush at the ready.

DSC_0006

Step Three:

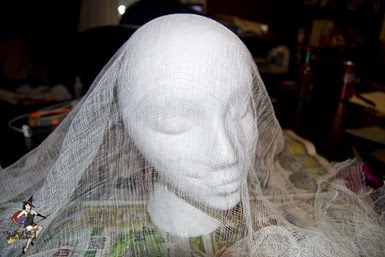
Drape your cheesecloth over the foam head. I usually start with a shorter piece of cloth at first and build up from there.

DSC_0007

Step Four:

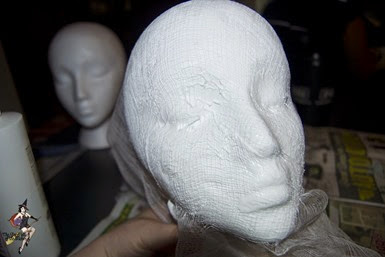
Start glopping on your fabric stiffener. It isn’t going to look completely perfect, but it doesn’t really matter. They’re both white so it’s not really going to show. It is kinda hard to get the cheesecloth to stay in the hollows of the eye, but you just have to keep at it until it looks like you want it to.

DSC_0009

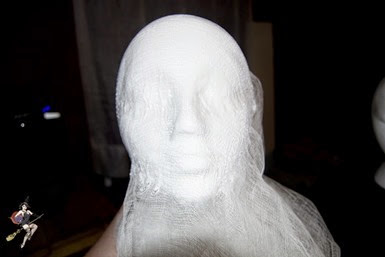
You’ll continue on with the rest of the layers of cheesecloth.

NOTE: You do NOT have to cover the entire head with the fabric stiffener. I use the seam of the foam head in the middle to judge where to start with it and then end right around the jaw line/chin.

You can put four to seven layers of cheesecloth, it is all a matter of how flowy you want it. I put four layers on each of mine and I’m pretty pleased with how it looks. But it probably could have used a couple more.

Now these things have to dry completely, and I mean completely. And it will take at least 24 hours, if not closer to 48. The more layers, the longer it will take to dry. It is some SUPER sticky stuff, so make sure wherever you put it, you don’t have to worry about it falling over or sticking to something.

DSC_0011

Step Five:

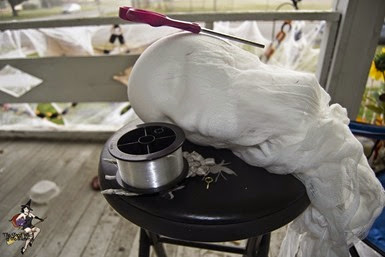
When you’re all done and everything is dry, then you’re ready to hang them! You’ll need some fishing line, a pair of scissors and eye hooks or eyelet screws.

DSC_0013

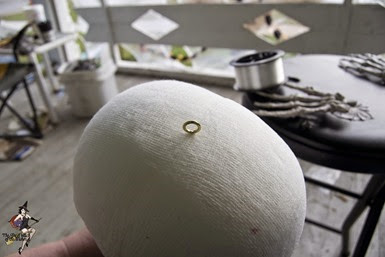
Be mean and give your foam head a headache by taking the eye hook and pushing it into the top of the head. If you’re planning on leaving this out for a few days (and I really don’t, because the fabric stiffener doesn’t react well with moisture) you might want to use a little epoxy or hot glue to make sure that the eye hook stays in there. Then string with fishing line and hang!

DSC_0018

DSC_0021

DSC_0023

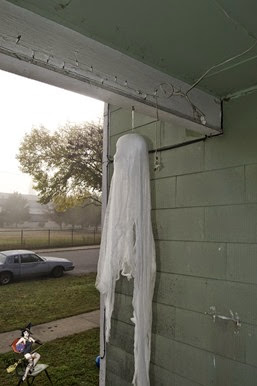
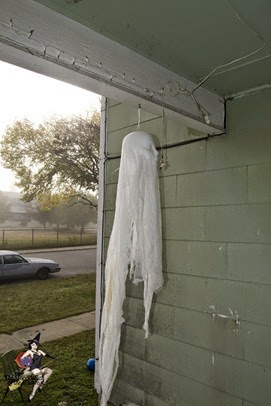
Pretty darned creepy huh? I can’t wait til Halloween and I can put them all out. I think they’re really gonna creep people out. It’s gonna be fabulous. I will of course I’ll have pictures of the final setup!

Let me know if you make these awesome little ghoulies!

Wednesday, October 15, 2014

Polish Review: Literary Lacquers Wrinkle in Time Collection

WrinkleInTime6

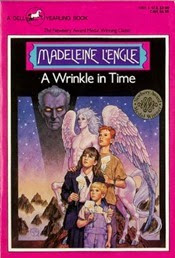
When I was in the sixth grade I discovered Madeleine L’Engle and A Wrinkle in Time. I got lost in the world she created, as I did with many of the books I loved (and still love today). The images she painted with words still give me goosebumps to this day.

Amy, the creator and genius behind Literary Lacquers has come up with a collection of seven beautiful polishes based on L’Engle’s works. I am here tonight to share three of them with you!

DSC_0277

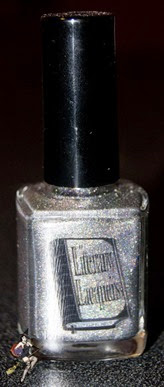
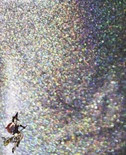
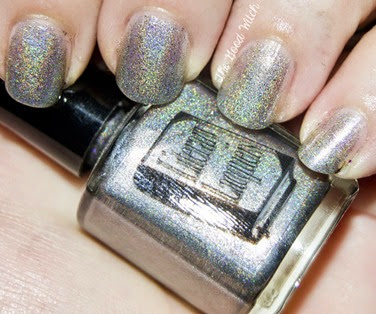
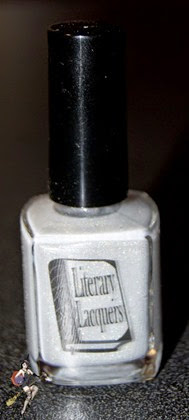
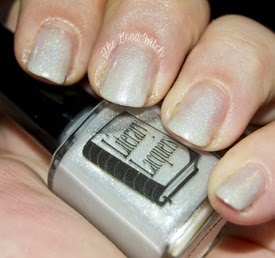
First up is Aunt Beast, labeled in the shop as “A tarnished silver linear holo packed with taupe microflakies – a true neutral” it is a stunner.

DSC_0278

I really dig how it’s not in your face, how it’s understated and yet undeniably gorgeous.

DSC_0293

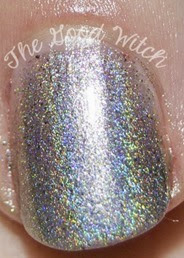
As with before, the sun was not a friend of mine, so I have nary a sunlight shot to share with this gorgeous polish, but even with flash you can still see the beauty!

DSC_0294

Two coats reaches full opacity, three coats makes it shine even brighter!

DSC_0281

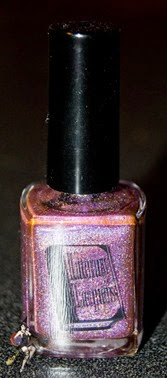
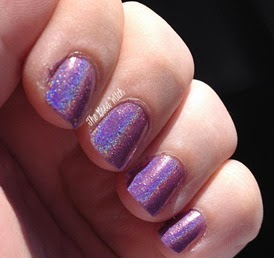
Next up is Megatron, listed as a “royal purple linear holo with purple and silver holo sparkle added”.

get-attachment (1)

I was lucky enough to get sunlight pictures of this beauty!!!

get-attachment

But a really crappy macro shot LOL go figure. Again, two coats is completely opaque, three makes it shine!

DSC_0279

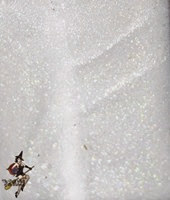
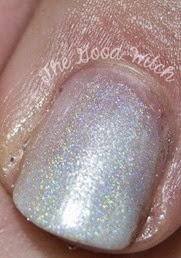
Next up is my favorite. I’ve been looking for a white holo like FOREVER and I found it in Tesseract.

DSC_0280

It’s not exactly a linear holo, but not exactly a scattered holo. Either way you go, you’ve got beautiful white holo gorgeousness.

DSC_0296

It is really hard to capture with flash though!

DSC_0298

And I had pictures on my phone of it in the sun (what sun I could muster) but my phone dumped everything and I lost them Sad smile *sad panda*

It goes on creamy smooth in two coats, but three really makes it pop. I absolutely ADORE this polish! Dry time is nil with pretty much any of Amy’s polishes.

You can purchase them at Literary Lacquer’s Etsy shop (it looks like Tesseract may be sold out!)and make sure to stop by and show her some love on her Facebook page!

Polish Review: Zilla 5-Free Lacquers

Hey there, my wonderful Witchie-Poos! Thank you so much for hanging around while I was in the middle of this madness I call my life…

We just found out that my husbands job is ending in February… After three years with the company they feel like it’s in their best interest to close up shop here in Oz. It’s a horrible blow; not only to my family, but also to the communities that surround us and the people that work there.

But we will persevere! We always do!

We’re also gearing up for Halloween! Right now, as I’m blogging this, It’s the Great Pumpkin, Charlie Brown! is playing on ABC! So why not share some awesome halloween-themed polishes?!

DSC_0274

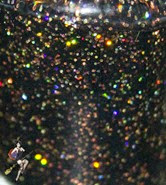
First off is Spectre, a beautiful black jelly full of iridescent micro glitters. It goes on like a dream!

DSC_0283

In three coats its completely opaque. As with most jelly polishes, you have to apply a topcoat to smooth out all the bumps but it dries super fast, so bubbling in the topcoat is a thing of the past with this polish!

DSC_02832

So sorry for the crummy macro shot!

DSC_0275

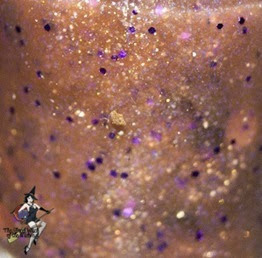
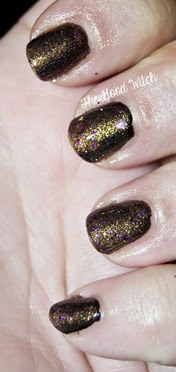
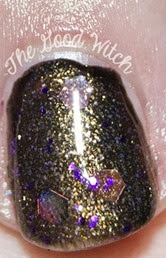
Next up is Superstition. This is a definite sleeper polish. I wasn’t real sure what I thought when I first saw it. It’s a shimmery brown base with purple micro glitter and gold-purple iridescent hex glitters.

DSC_0289

Worn in two coats under a black undie it really is a stunner. I really wish I would have been able to get pictures of it in the sunlight, but alas… The sunlight has been missing here in Oz for more than a week Sad smile

DSC_0291

Isn’t it gorgeous?! It’s so freaking shimmery and wonderful.

DSC_0276

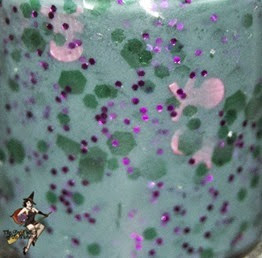
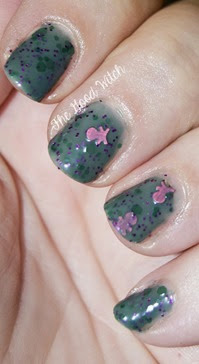
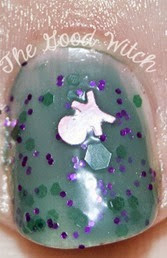
Next up is my favorite, Grim. A teal/turquoise-y jelly filled with purple micro glitters, small and large transparent green hex glitters and the cutest darned pink skulls ever.

I really, really like this polish. I’ve been wearing it for three days now and I can’t stop looking at it. And the compliments?! Out of this world!

DSC_0286

This is three coats of the regular polish, then the skulls were placed with a toothpick as they’re a little hard to fish out of the jar.

DSC_0288

It’s so darned cute!!!!!!!!!! I love this polish. It may have to make an appearance in my Halloween mani!

All in all, these are wonderful polishes. The smell isn’t overwhelming, the dry time is next to nil and the formula is pretty spot on! They’re well worth the time!

The only hitch is, she hasn’t released them/opened her shop yet!!! Keep an eye on her Facebook page for further updates!